Beauty on the go
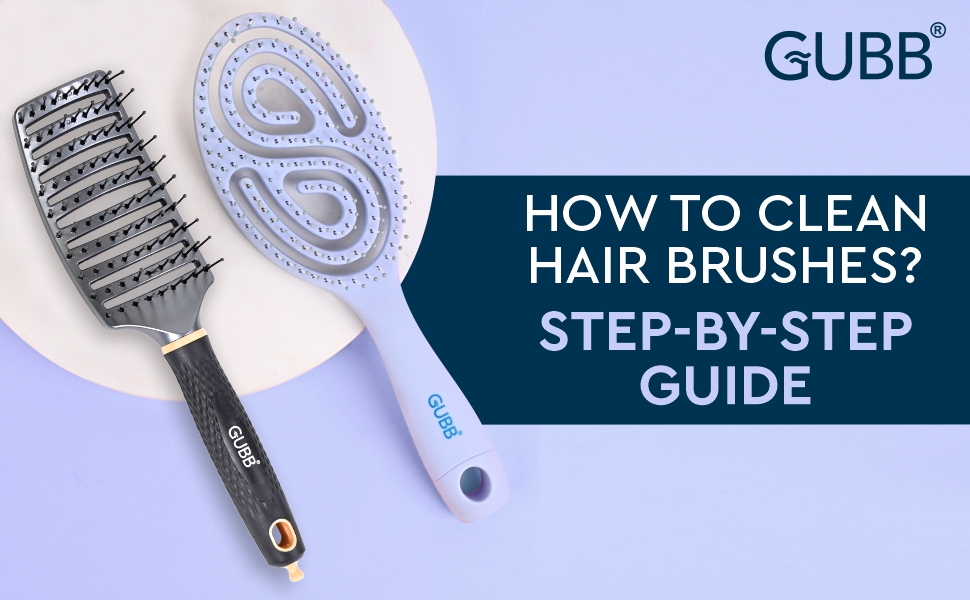
How to clean hair brushes? Step-by-step Guide
When she flips her brushed hair, the world sees her. Have you ever wondered why elders always tell you to brush your hair regularly? Neat, clean, brushed hair is desirable to everyone. And, a well-designed hair brush helps you achieve that. A hairbrush smoothens your hair strands and detangles them by giving a smooth, clean […]
Read More
What is foot care? How to keep your feet clean, soft and moisturized?
No wonder, the feet are the most neglected part of our body. Cracked heels are the result of this negligence. And, they look embarrassing! There is a reason why ancient people stress to take care of feet like your face. It’s said that feet define your personality, nature and health. Even there is some religion […]
Read More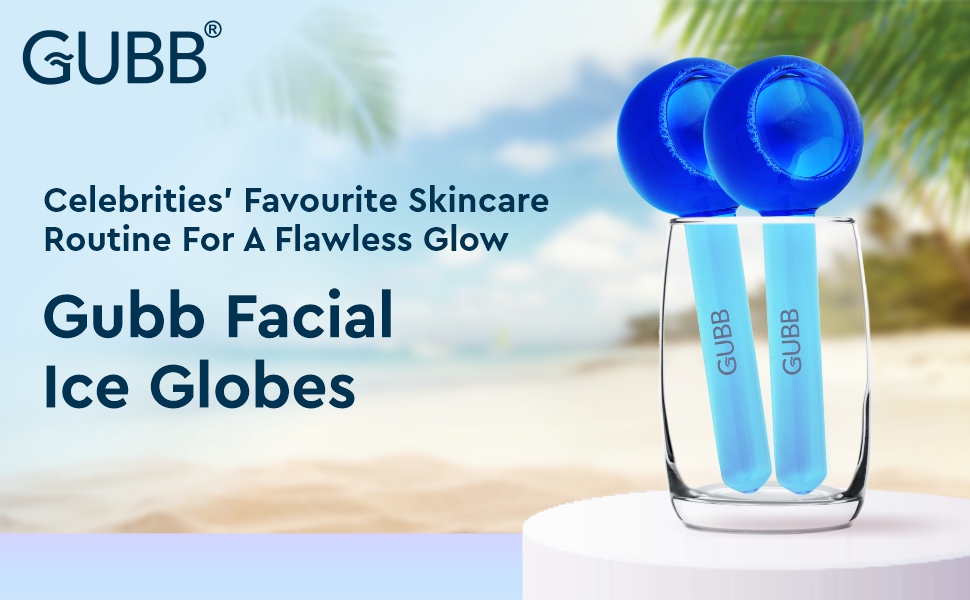
Facial Ice Globes: Celebrities’ Favourite Skincare Routine for a Flawless Glow
Have you ever wondered how the faces of celebrities glow 24X7? Even when we see them in any reality show without any makeup, their skin looks flawless like fresh dew or a flower. Do you know the secret? It’s Facial Ice Globes! As skin experts say, to get beauty like snowflakes, you need to ice […]
Read More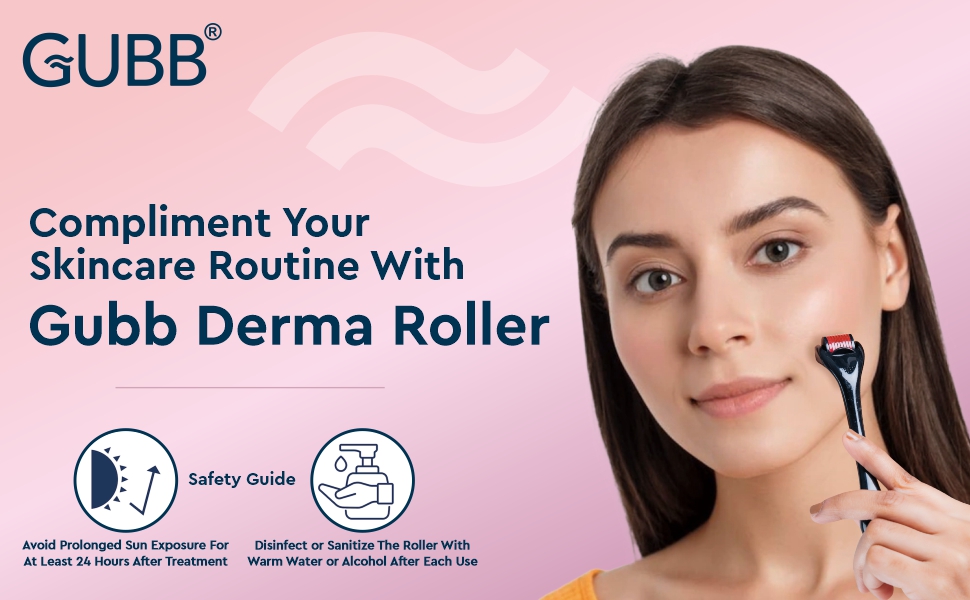
Is Derma Roller Really Effective? Does It Help Your Skin?
Nowadays, skincare routine is not limited to old ways. For instance, a few years ago, skin care treatments were restricted to performing under the supervision of dermatologists only. However, thanks to our beauty industry and social media influencers, many new skincare tools have been rolled out. And, Derma Rollers are one of them! For […]
Read More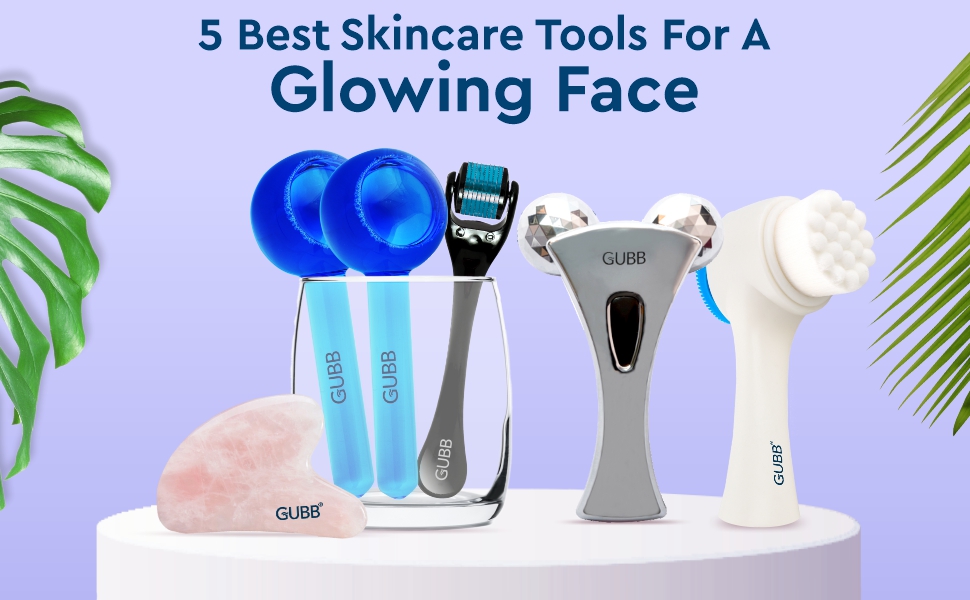
5 Best Skincare Tools for a Glowing Face
Healthy skin is the reflection of your overall wellness. No matter the skin type you have, a regular skincare routine must be part of your daily to-do list. And, there are several skincare products available in the market that helps in taking care of your skin. However, if you are serious about providing an […]
Read More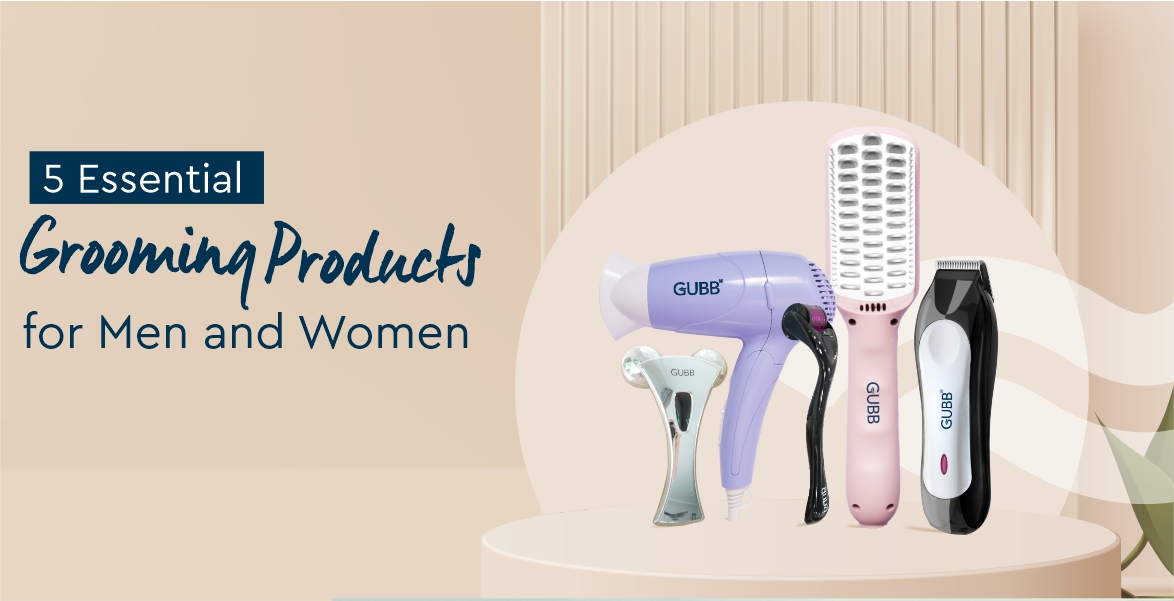
5 Essential Grooming Products for Men and Women
Great things happen to those who groom. Appearance is the key to getting attention. The first impression you create all comes from how you look. Hence, grooming is important for both men and women. It not only makes you look good, but it enhances you and your personality. For instance, when you go for […]
Read More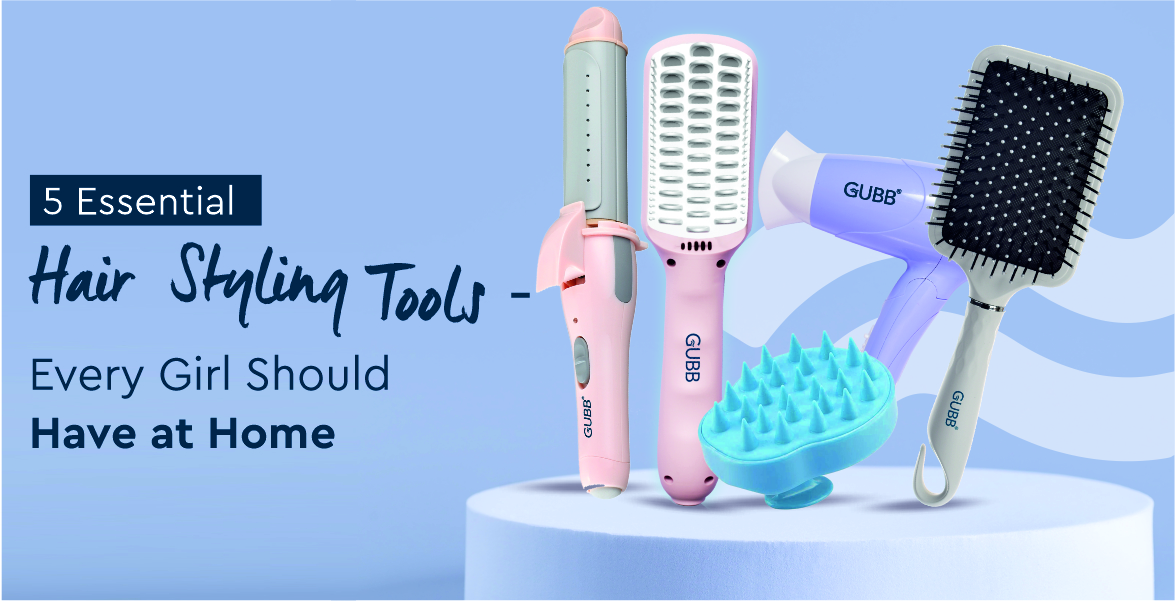
5 Essential Hair Styling Tools – Every Girl Should Have at Home
Beauty is in the hair! Whenever you plan an outing or receive an invitation to a party, what do you do? You ponder over what to wear and how to style your hair. Right? It’s pretty common and it’s good if you take such efforts. After all, dressing up well makes you feel good, […]
Read More
What Happens When You Use Rose Quartz Face Roller?
Rose Quartz! These two words have created a revolution in the face care or skin care industry. Everyone is looking or searching about rose quartz, its various products, benefits and so on. And, if you are reading this post, then consider yourself as one of them. Beauty trends come and go, but the rose quartz […]
Read More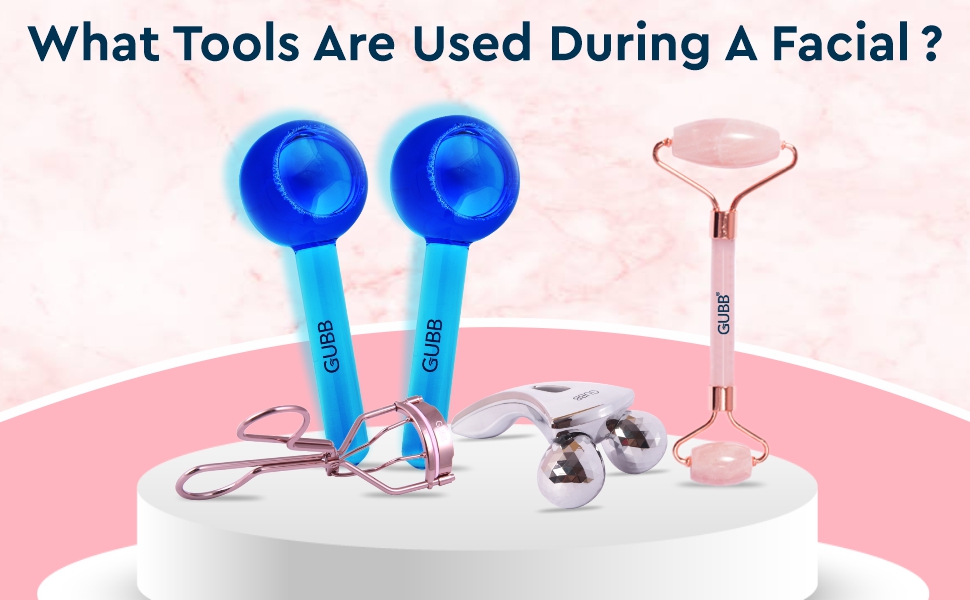
Beauty Facial Guide: What Tools Are Used During A Facial?
Doing skincare is not merely limited to cleaning your face with a mild cleanser or applying serum, masks, toners and moisturizers. It has gone beyond these simple skincare steps. There is one more important skincare treatment that must include in your skincare i.e. facials. Facials are like must-have workouts for your skin. They are part […]
Read More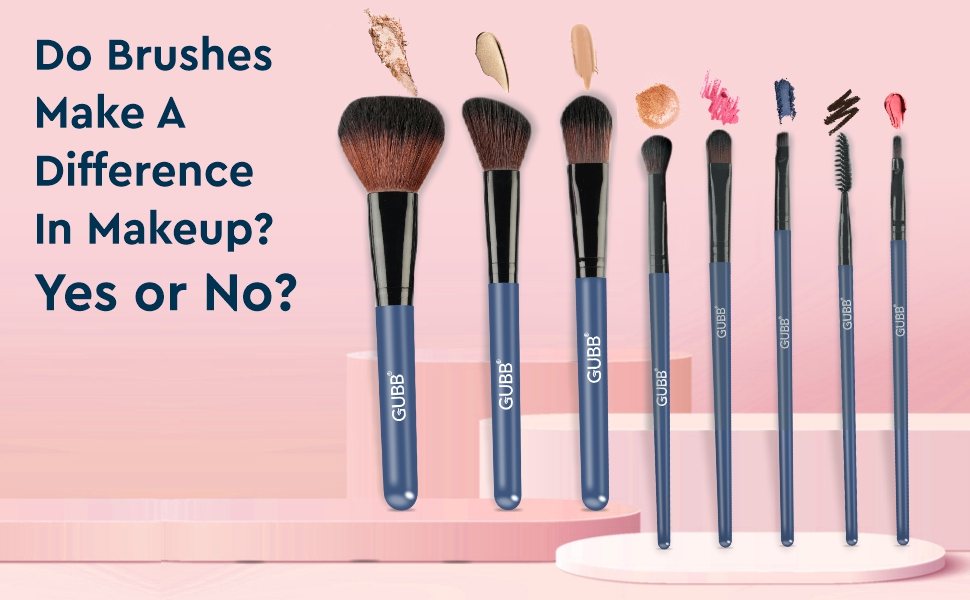
Do brushes make a difference in makeup? Yes or No?
Makeup may come and go. But, makeup brushes are forever! It’s the eternal question asked by many makeup enthusiasts stating why makeup experts stress using a well-crafted set of makeup brushes. Makeup lovers are ready to invest in makeup products but are not interested in buying makeup brushes. They find it hard to accept […]
Read More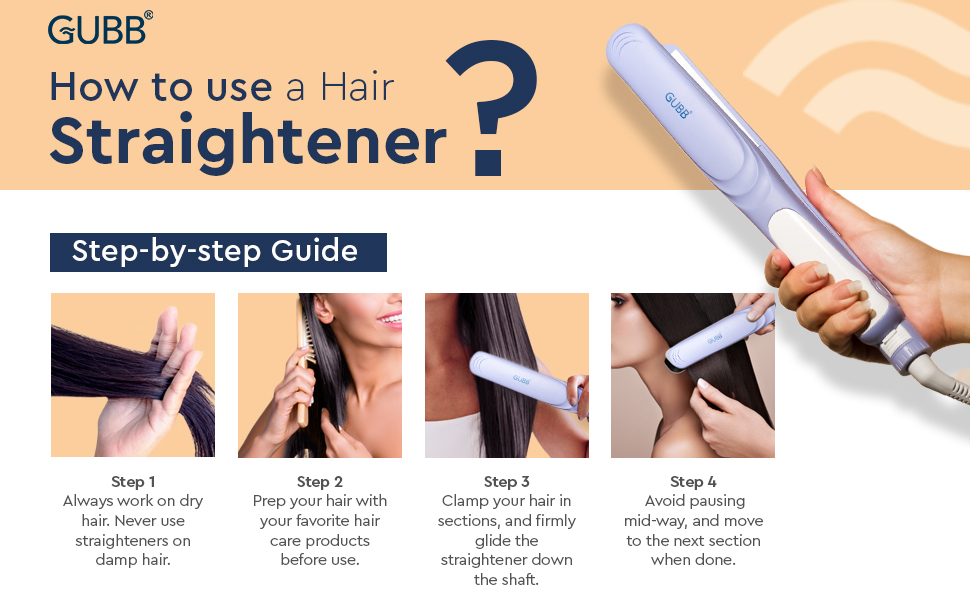
How to use a hair straightener? Step-by-step Guide
We, women, love our hair when it’s perfectly straight. Isn’t it? Who doesn’t love the sleek hairdo look? Well, for having perfect hair, only washing your hair with mild shampoo and blow drying won’t be enough. Yes, to have shiny straight hair, you need a Hair Straightener. Hair straightening is a hair styling technique that […]
Read More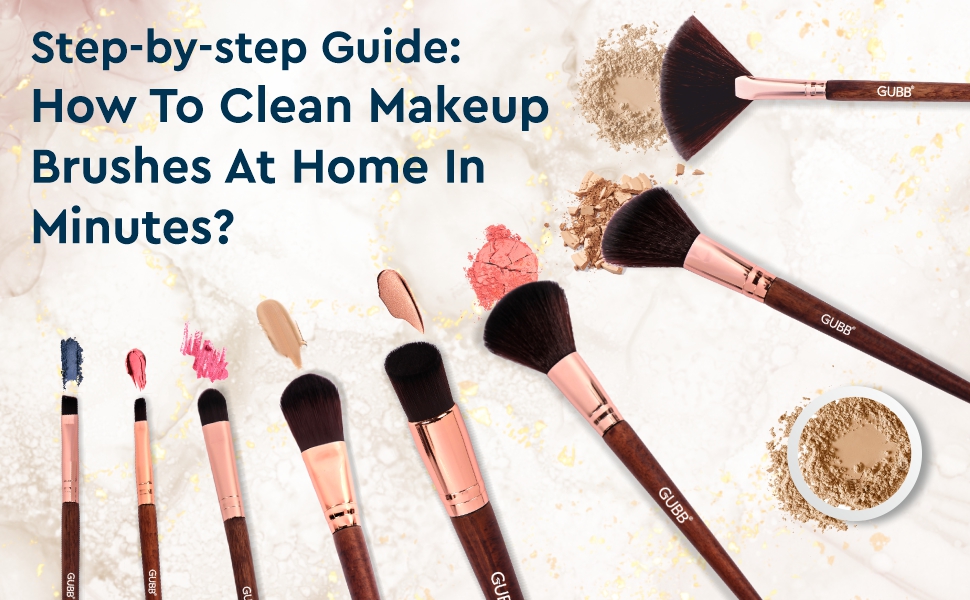
Step-by-step Guide: How to clean makeup brushes at home in minutes?
Flawless makeup is every woman’s desire. And, the makeup brushes make that desire come true. But how many of you clean your makeup brushes before using them? We bet, only a few. Most of us even have no idea that it’s advised to clean your makeup brushes before every use. Also, they have no […]
Read More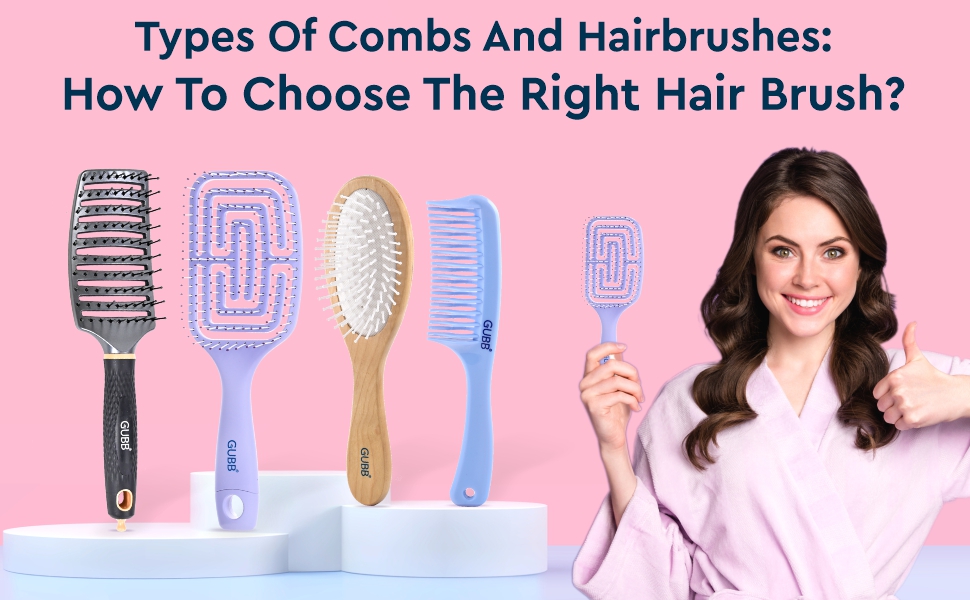
Types of Combs and Hairbrushes: How to Choose the Right Hair Brush?
We have listed different types of combs and their use. Have a look at this.Did you know?
Read More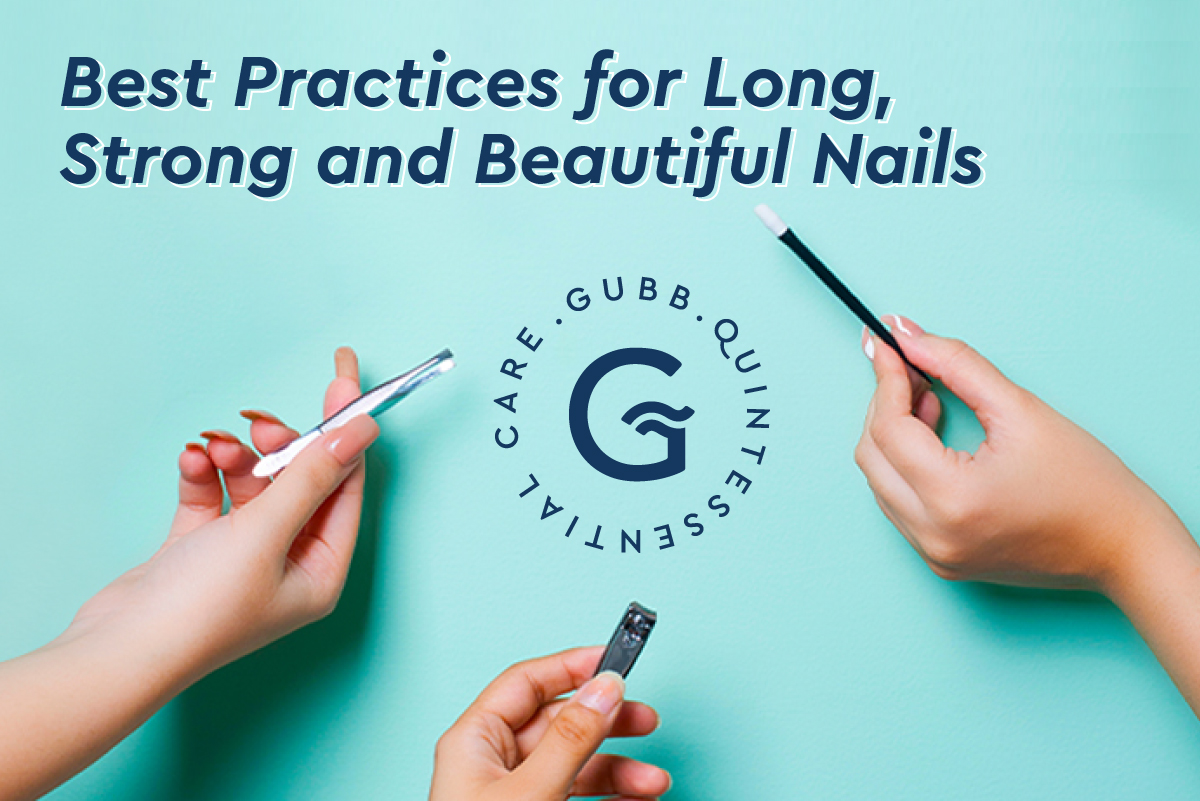
Nail Care: Best Practices for Long, Strong and Beautiful Nails
We have listed some of the most popular and effective method to have strong and beautiful nails.Who doesn’t want strong, healthy, and good-looking nails?
Read More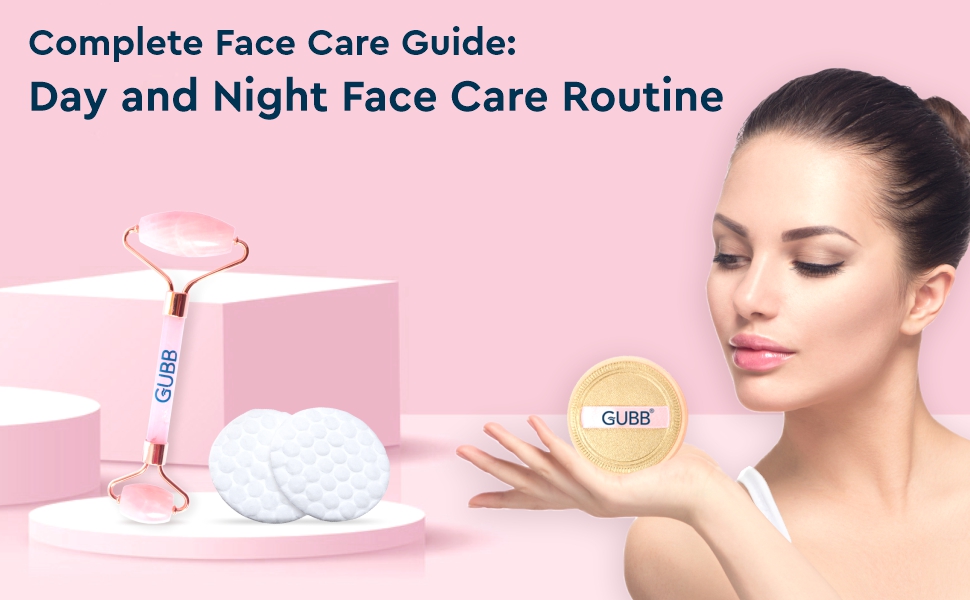
Complete Face Care Guide: Day and Night Face Care Routine
Every person wants to have a flawless face. But most of us do not know how to care for our skin. People have questions.
Read More
How to use a pedicure kit – Step by step guide.
Who doesn’t enjoy a relaxing pedicure session for themselves? Beautifully groomed feet not only speak volumes about self-care but also make you feel internally happy. But how does one pamper their feet without a pedicurist?
Read More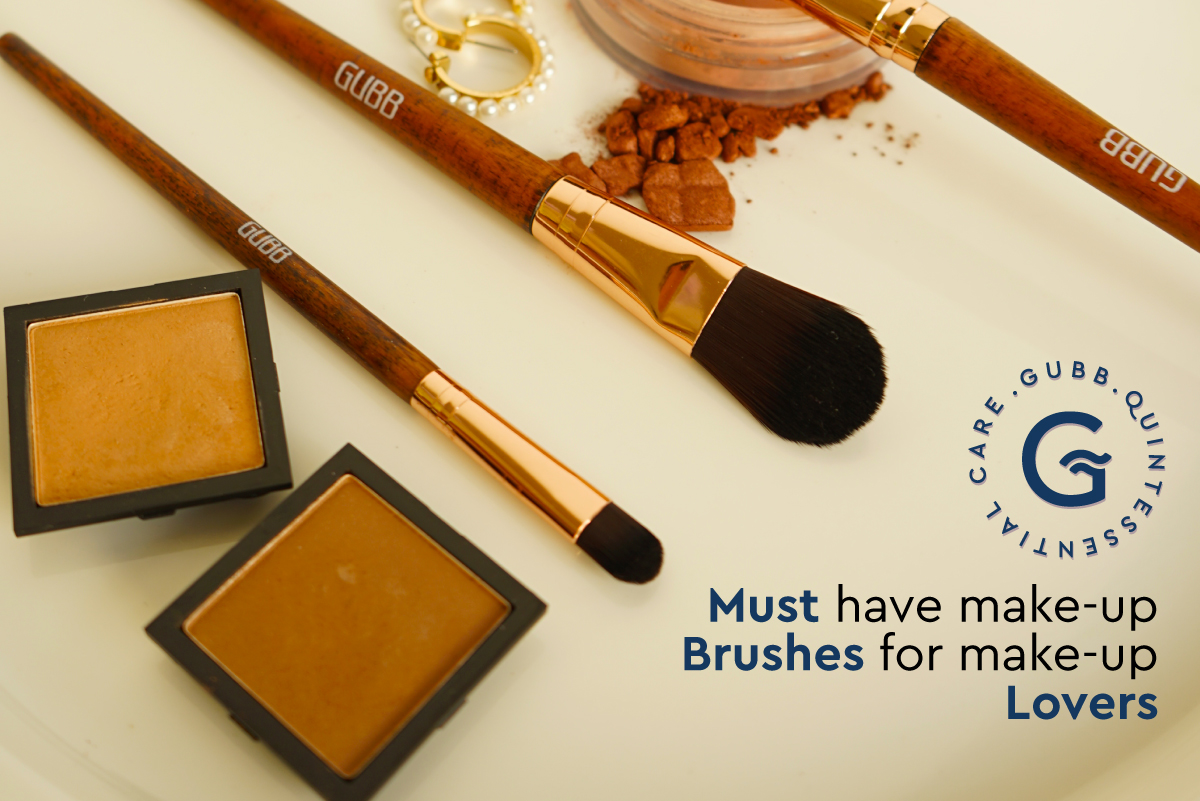
Must have make-up brushes for make-up lovers
In the beauty universe, nothing is wrong or right as long as you love it. If you enjoy using your lipstick as an extended blush, do it!
Read More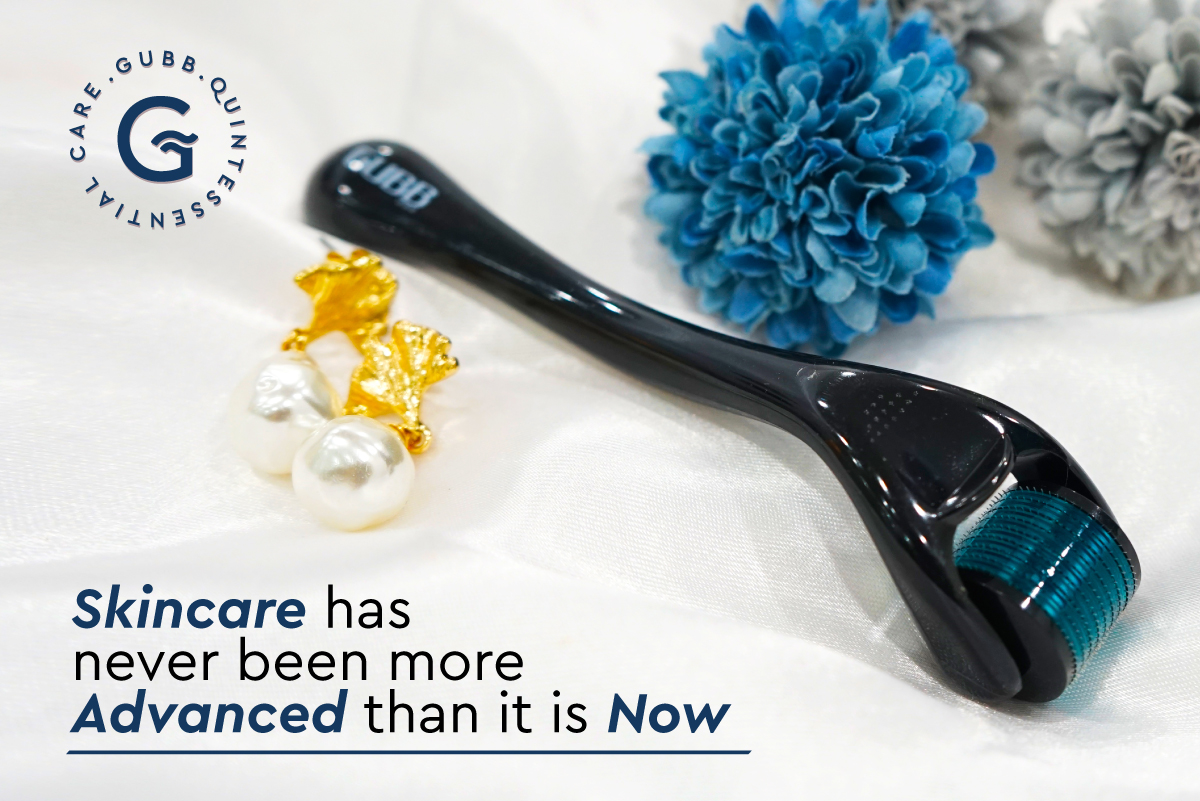
Complement your skincare routine with Gubb Derma Roller:
Complement your skincare routine with Gubb Derma Roller
Read More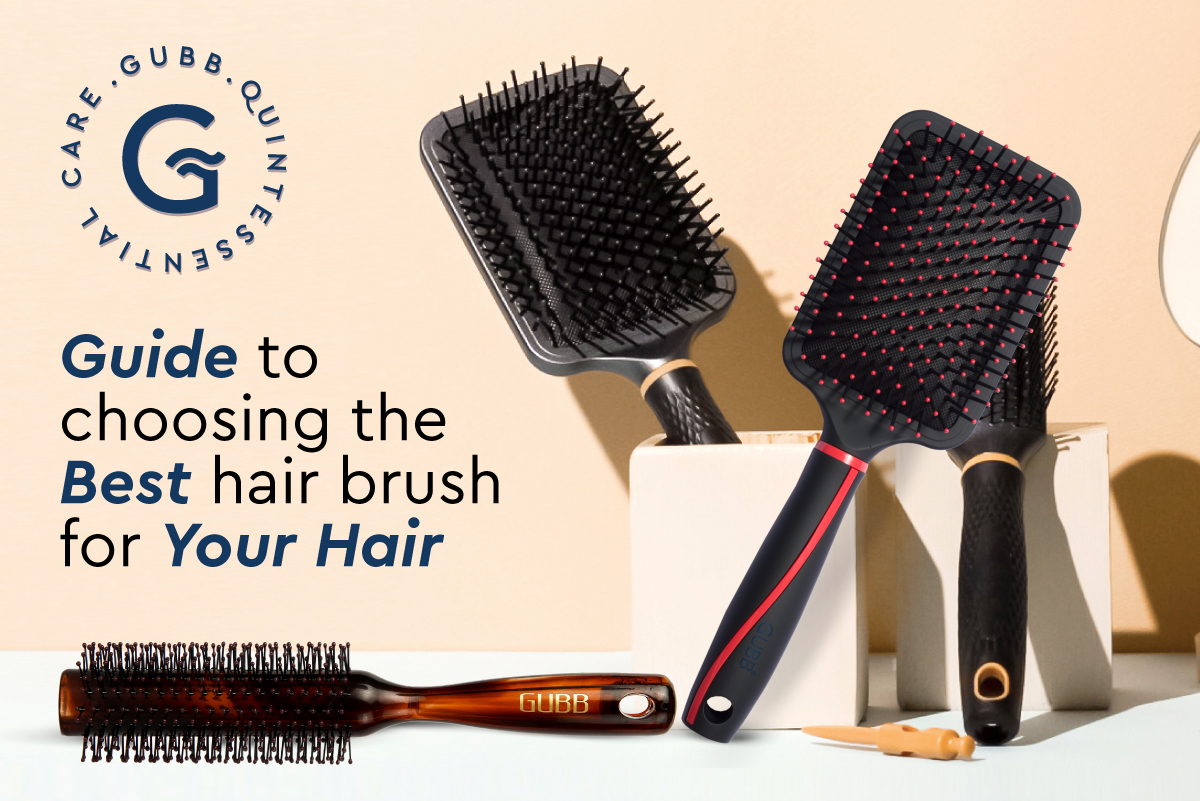
Guide To Choosing The Best Hair Brush For Your Hair
When it comes to hair care, you do everything possible to stay on top of your game. From effective shampoos to serums, nothing is missed out on.
Read More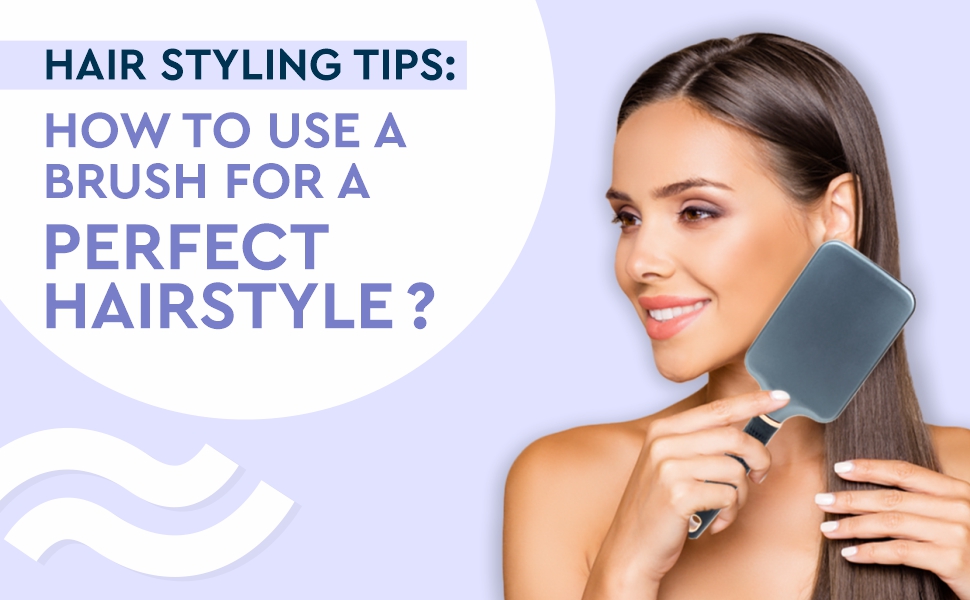
Hair Styling Tips: How to Use a Brush for a Perfect Hairstyle?
Great hair doesn’t happen by chance. You have to style them so that they can look great. Achieving a perfect hairstyle is not a myth but can seem daunting. However, with the right hair styling tips or techniques, you can learn hair styling at home without any hassle. In short, with the right hair styling […]
Read More